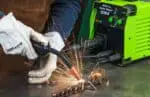
MIG welding is among the most widely used welding techniques. It is one of the simplest welding procedures to master, and it comes in two varieties- gas and gasless.
To weld gasless, you need to use the right flux-cored filler wire. It’s equivalent to MIG welding with a stick electrode in that a protective slag layer forms over the metal to shield it from contaminants.
Gasless MIG welders have become increasingly useful in commercial settings for a variety of reasons as employing it eliminates the need to depend on shielding gas.
They can fuse heavier metal than gas MIG welders, including metal with rust, dirt and paint. And they are more mobile, generate more produce, and may be employed outside or in windy situations without polluting the weld pool.
Advantages of using Gasless MIG welder
1.) It’s ideal for outdoor use.
If you conduct most of your work outside, this is the one to choose. For starters, it employs protected gas. If exposed to windy conditions, this gas is quickly blown away, and this causes the bead to become porous, compromising the bond’s integrity.
In windy conditions, you may work to your heart’s content using self-shielded MIG equipment and you will not have to be concerned about your stuff becoming oxidised and eventually rusted.
2.) It has superior arc control
When used in conjunction with voltage detecting wire feeders, it can provide greater control over the arc. It enables cleaner and more accurate work. Given the correct filler materials, MIG using self-shielded flux-cored wire can be an all-position approach.
3.) It is simpler to use
Training with this approach is quite simple, especially when compared to methods like TIG. You don’t have to maintain track of a large variety of factors because you’re not relying on high-strength pipes.
4.) It saves you time
It seems to reason that while selecting the appropriate equipment, you should select something that is most convenient to use.
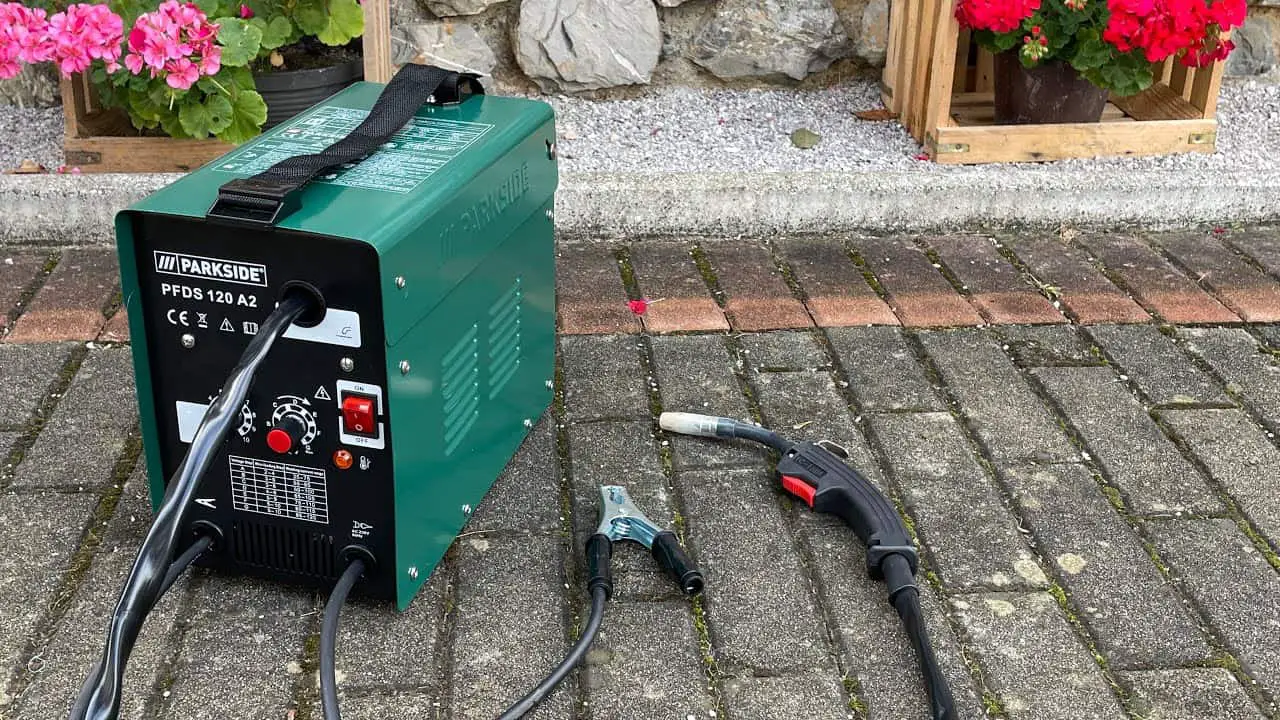
For starters, gasless welders are substantially smaller and lighter, which makes them portable. It doesn’t hurt that you don’t have to clean the material first.
Additionally, self-shielded flux-cored wire works better on corroded or painted-over surfaces. Since the flux used in these equipment allows the tool to readily fuse through corrosion and paint.
As a result, they are increasingly becoming the instruments of selection in industrial applications.
I’m sure by now you must be convinced to use self-shielded (gasless) MIG welding.
But wait, not too quickly.
While switching from gas welding to gasless welding is frequently a smart option, there are a few things to consider. There are several precautions you should take to guarantee a seamless transfer. Let’s check them out-
1.) Choosing the best tools
When beginning this new craft, selecting the finest flux core or MIG welder is crucial. A constant-voltage power supply is required for self-shielded FCAW.
Throughout the procedure, you must maintain the necessary voltage. If your equipment is unable to maintain a constant voltage, errors or anomalies (porosity) are to be expected.
2.) Choosing the right wire
For self-shielding to operate, you must use the suitable wire, namely self-shielded flux-cored wire. It has various seismic criteria and demands the appropriate strengths.
The wire you use must have the chemical and mechanical qualities to meet the structural applications that are required.
3.) Adherence to codes
Before making the transition, you should be familiar with the structural codes established by the American Welding Society’s D1 committee (AWS). More significantly, you must ensure that you are in compliance with those codes.
You should also check to see if there are any additional qualifications you need to earn for certain activities.
Here we provide you with some tips on how can you successfully operate gasless MIG welding-
1.) Maintain proper heat input
To guarantee that the metals fuse properly, you must maintain adequate heat input. Use the voltage advised by the manufacturer in relation to the wire diameter to take this off. If you don’t give enough heat, slag inclusions are probable.
2.) In between passes, carefully clean the material
You may eliminate impurities that may create fusion difficulties by carefully cleaning the surface of the base metal between passes. Slag can be removed with a chipping hammer or a wire brush.
3.) Maintain a proper travel speed and angle
When working in a vertical posture, point your rifle at a 5 to 15 degree angle. When operating in a flat or horizontal posture, keep the drag angle between 15 and 40 degrees.
Maintain your speed since slowing down will allow the piece to puddle, which will result in slag creation.
4.) Maintain proper penetration
Maintain proper penetration by keeping track of how much metal is deposited to the joint in a certain time period.
You must leave enough room between the bead and the junction for the metal to pass through. It’s especially critical while performing root passes and navigating across large gaps.
If you dig too deep, the metal will pierce the base metal and hang from the underside. Reduce the voltage range to the recommended limits and slow down wire feeding to avoid excessive penetration.
If the problem is the opposite (lack of penetration), raise the wire feed speed and voltage range. It’s also a good idea to set up the joint so that you can get to the bottom of the groove without losing your grip on the wire extension and the arc.
5.) Avoid porosity and wormtracking
Metal porosity is unappealing, and you’d be wise to take the necessary precautions to reduce it. Using filler meals with deoxidizers is one effective technique to avoid porosity.
Worm tracking is another prevalent problem with MIG. They are markings left on the surface of the bead by the fumes emitted by the wire after the flux has melted away.
You may avoid this by sticking to the wire feed’s suggested voltage levels. If you notice symptoms of worm tracking, the best course of action is to reduce the voltage by 12 volt increments until the problem is resolved.
It must be pretty clear up to now that MIG gasless welders come with their own set of advantages. But here we provide you with some pointers before you start with gasless MIG welding-
The type of metal and its thickness- Because gasless welding has some limitations, if you’re dealing with stainless or aluminum, you’ll require gas-shielded MIG.
Is it necessary to be portable? Is it possible for you to carry a gas cylinder wherever you are welding? If the answer is no, then you should go gasless.
Your location- where will you be welding? If you’re going to be welding outside, especially if it’s farm labor like rebuilding a fence and you’re in a remote location, go gasless.
What is your price range? Flux-cored wire spools are normally more expensive than solid wire equivalents, but they are less expensive overall since you don’t have to pay for a gas cylinder on top of the wire spool cost.
Here is a step by step method to start with your gasless MIG welding-
Step 1- Take all necessary precautions.
Before beginning the procedure and while setting up, you should do a 2-minute safety check. Put on your welding goggles and all the required PPE while welding.
Step 2- Prepare the metal
Clean the metal surface you’ll be working on. You may think this is minor, yet it significantly improves the efficacy of the task.
Step 3- Adjust the machine’s parameters
It’s critical to make adjustments based on the thickness of the metal you’ll be dealing with. These parameters will also be determined by the type of metal used.
Step 4- Start your welding
Turn on the equipment and begin welding at a suitable location in the house or outside, away from obstacles, children, and pets.
Step 5- Current Intensity
This will determine how much current you’ll require during welding. Steel will necessitate a larger current, whilst aluminum will necessitate far less.
Step 6- Set the pace of the wire feeding.
The wire that will generate the welding gas must be fed into the machine at a specific pace. This speed is determined by factors such as metal type and thickness.
Step 7- Weld
Begin your welding job whenever you’re comfortable with the procedure. In order to complete a comprehensive job, you need to move slowly. Take extra time to produce the binding if the metal is heavy or robust.
Step 8- Bringing it all together
When you’re finished, take a step back and let the metal cool. Make sure not to inhale any chemicals that are emitted during the operation. After the machine and metals have cooled, move your machine to a clean and dry storage space.
Conclusion
There are considerable differences between gas and gasless MIG welding. While gasless does have portability and convenience, they also come with a few instructions that have to be followed for a good quality finished product.
In this article, we have included all the necessary details which might be of help to you.